Skip to content


1 / 21
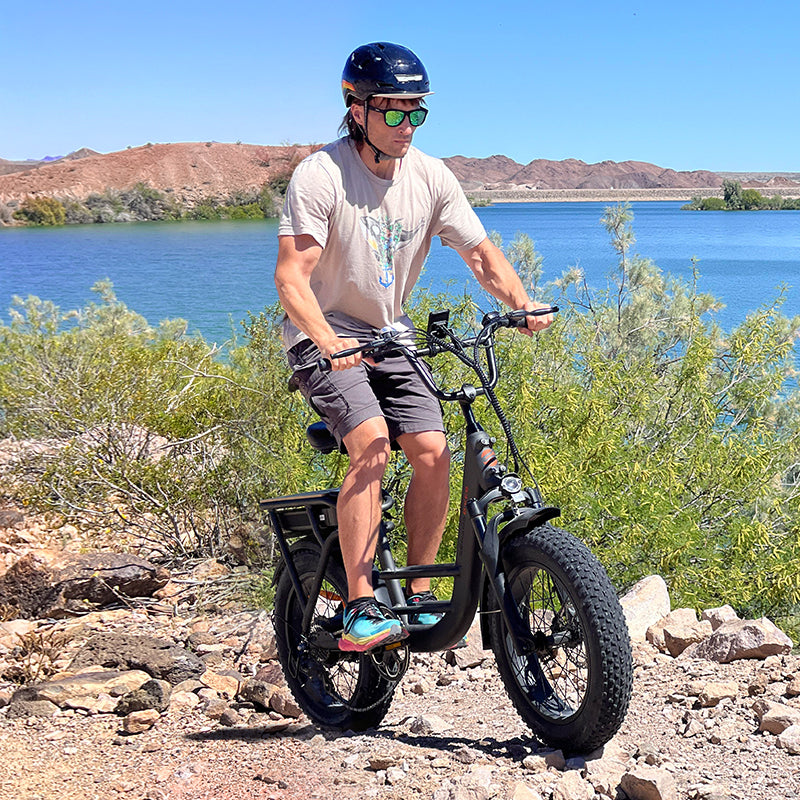
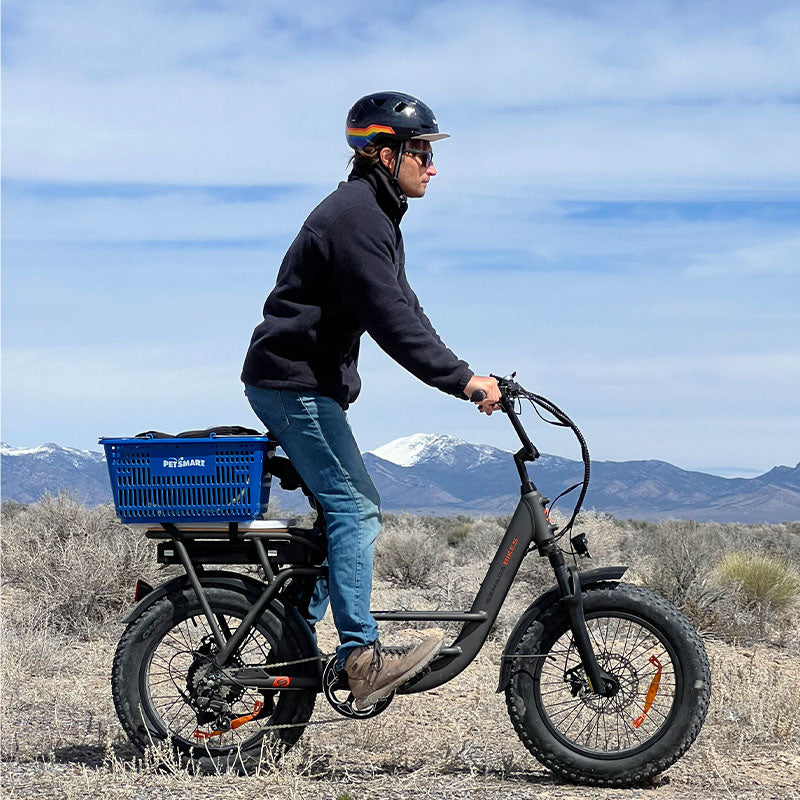
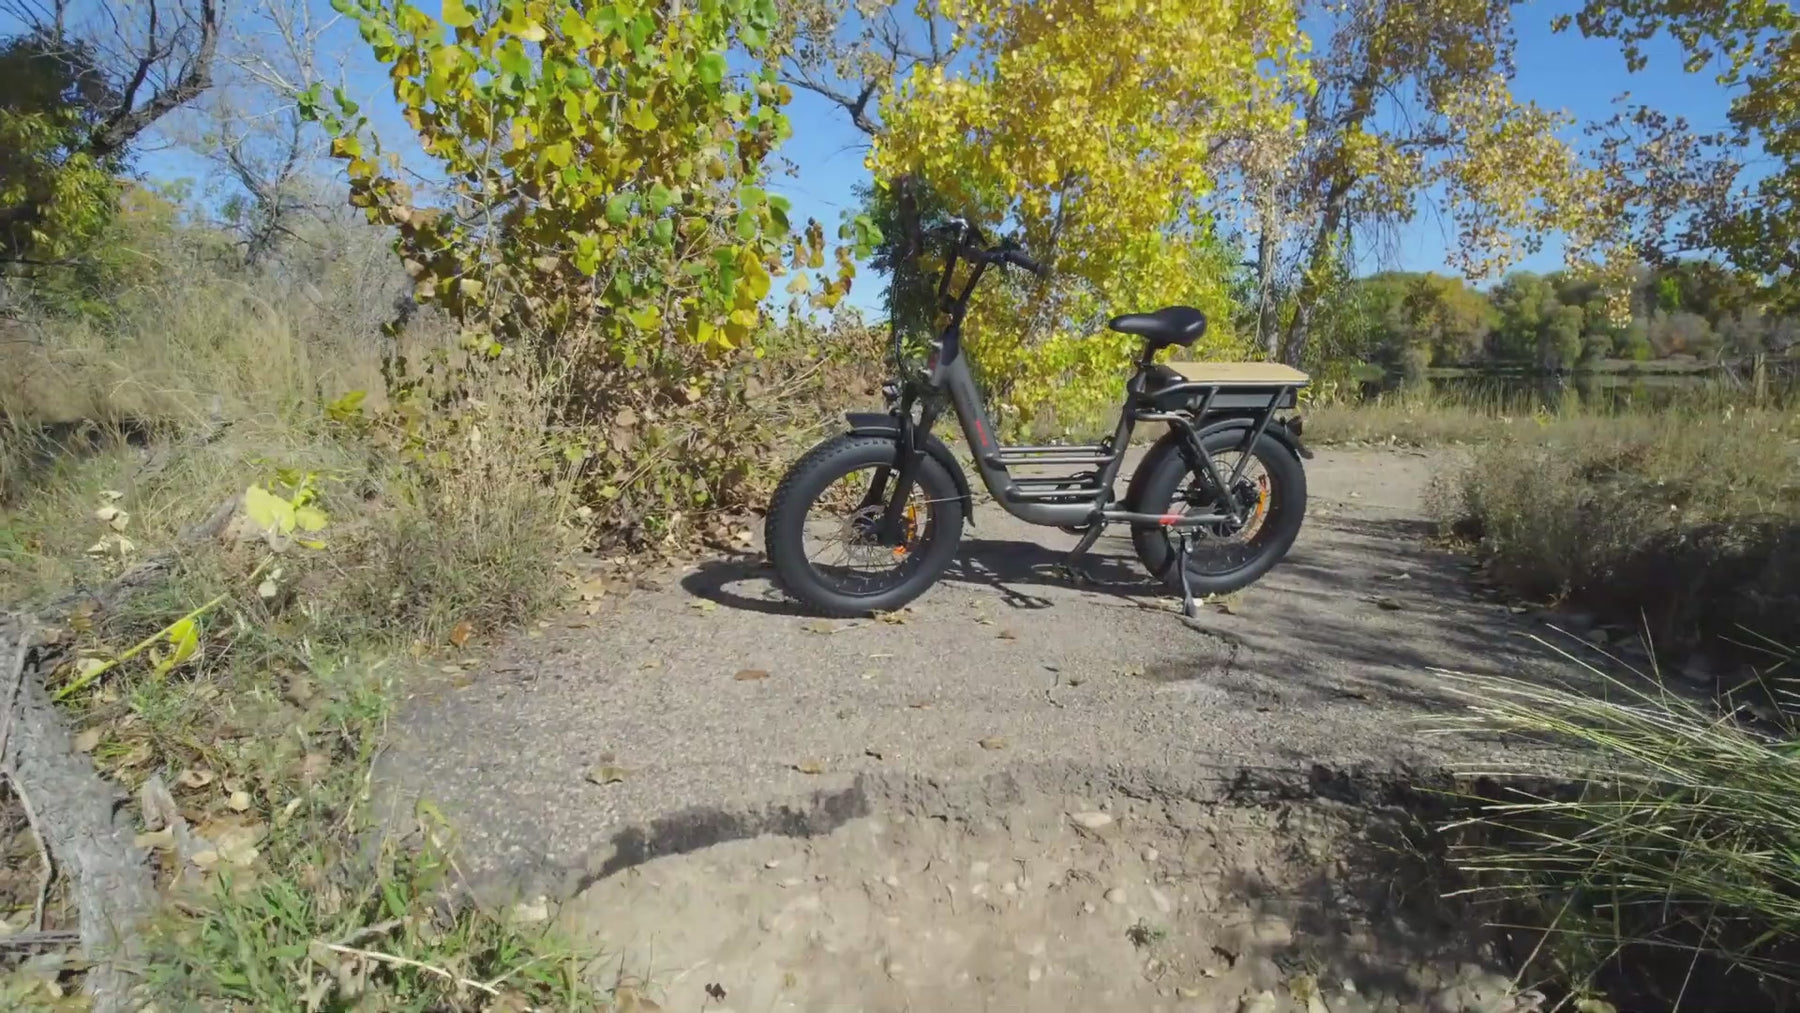
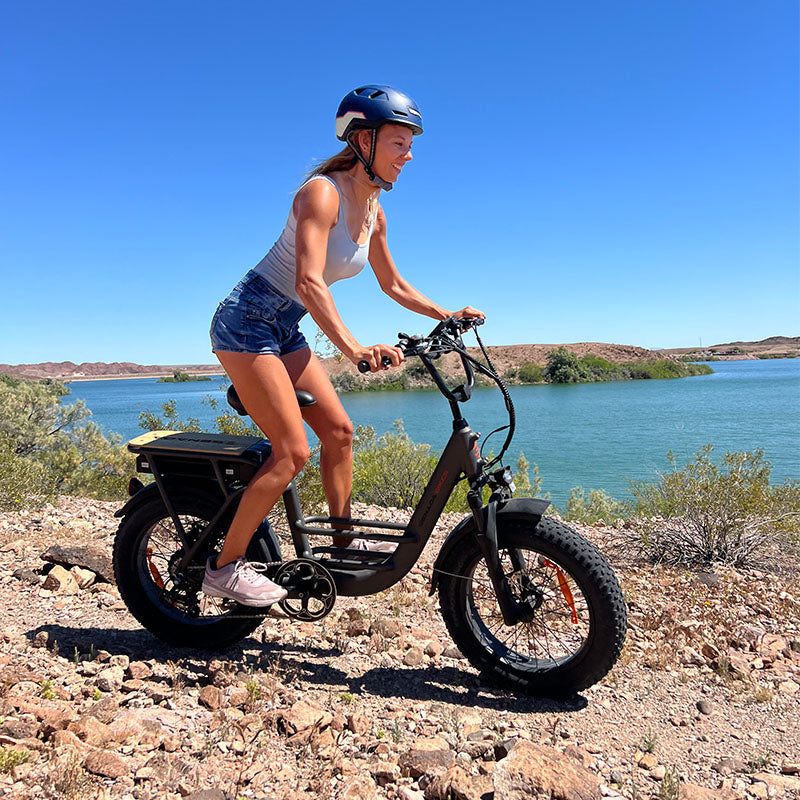
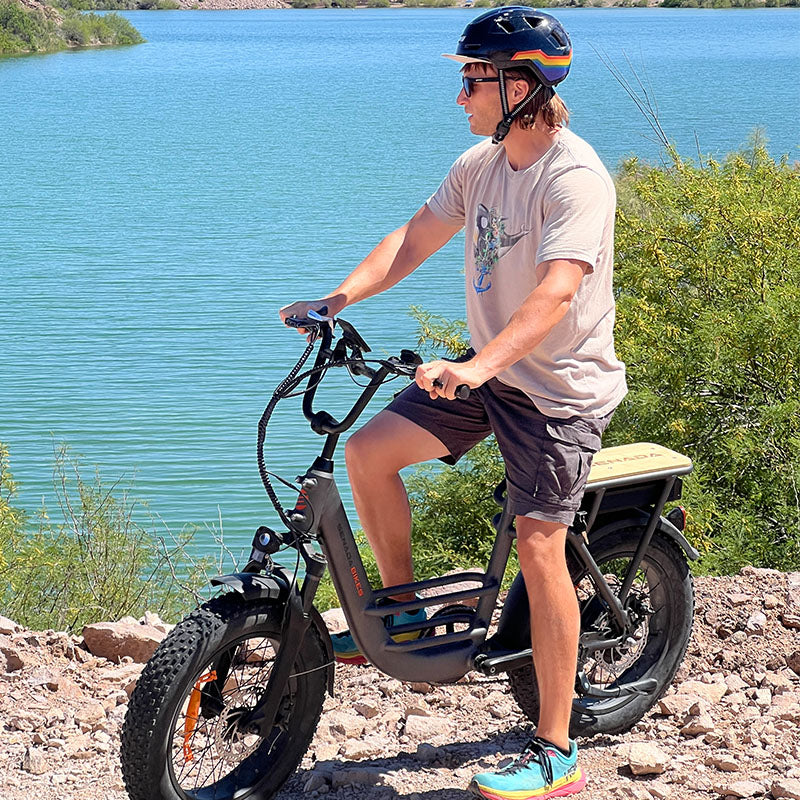
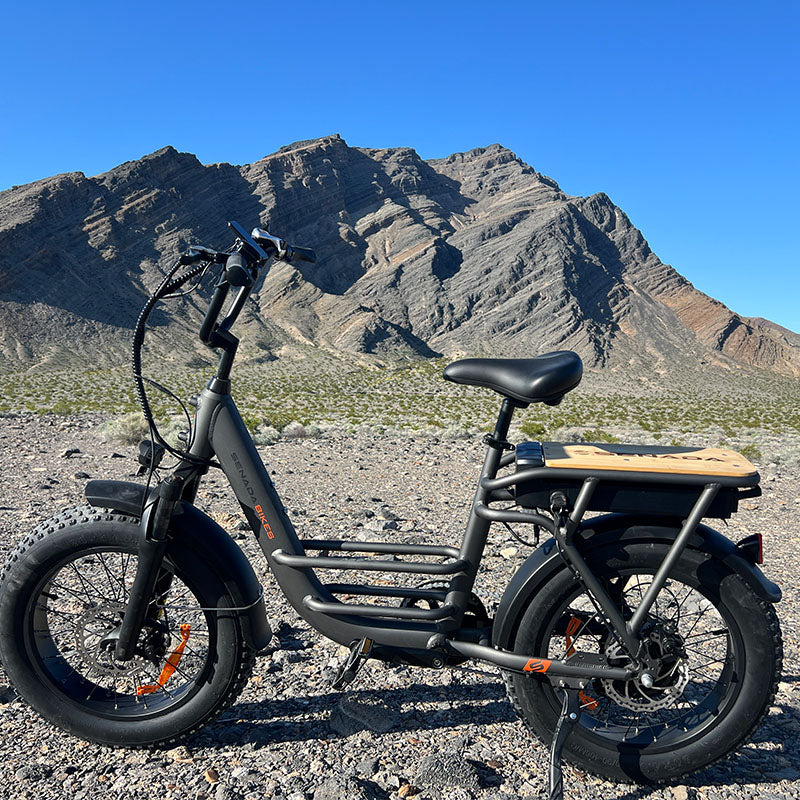
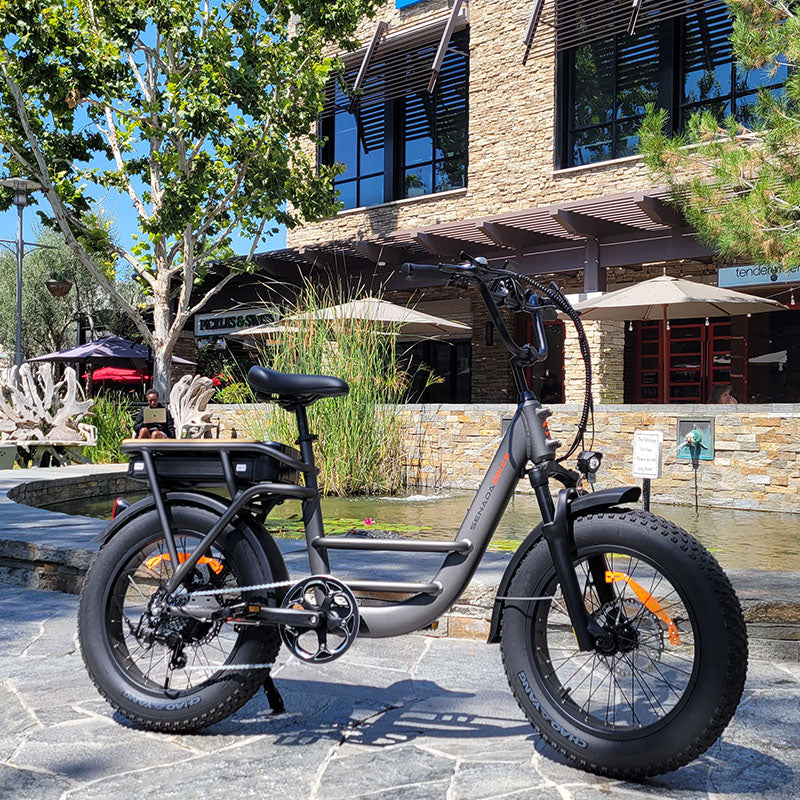

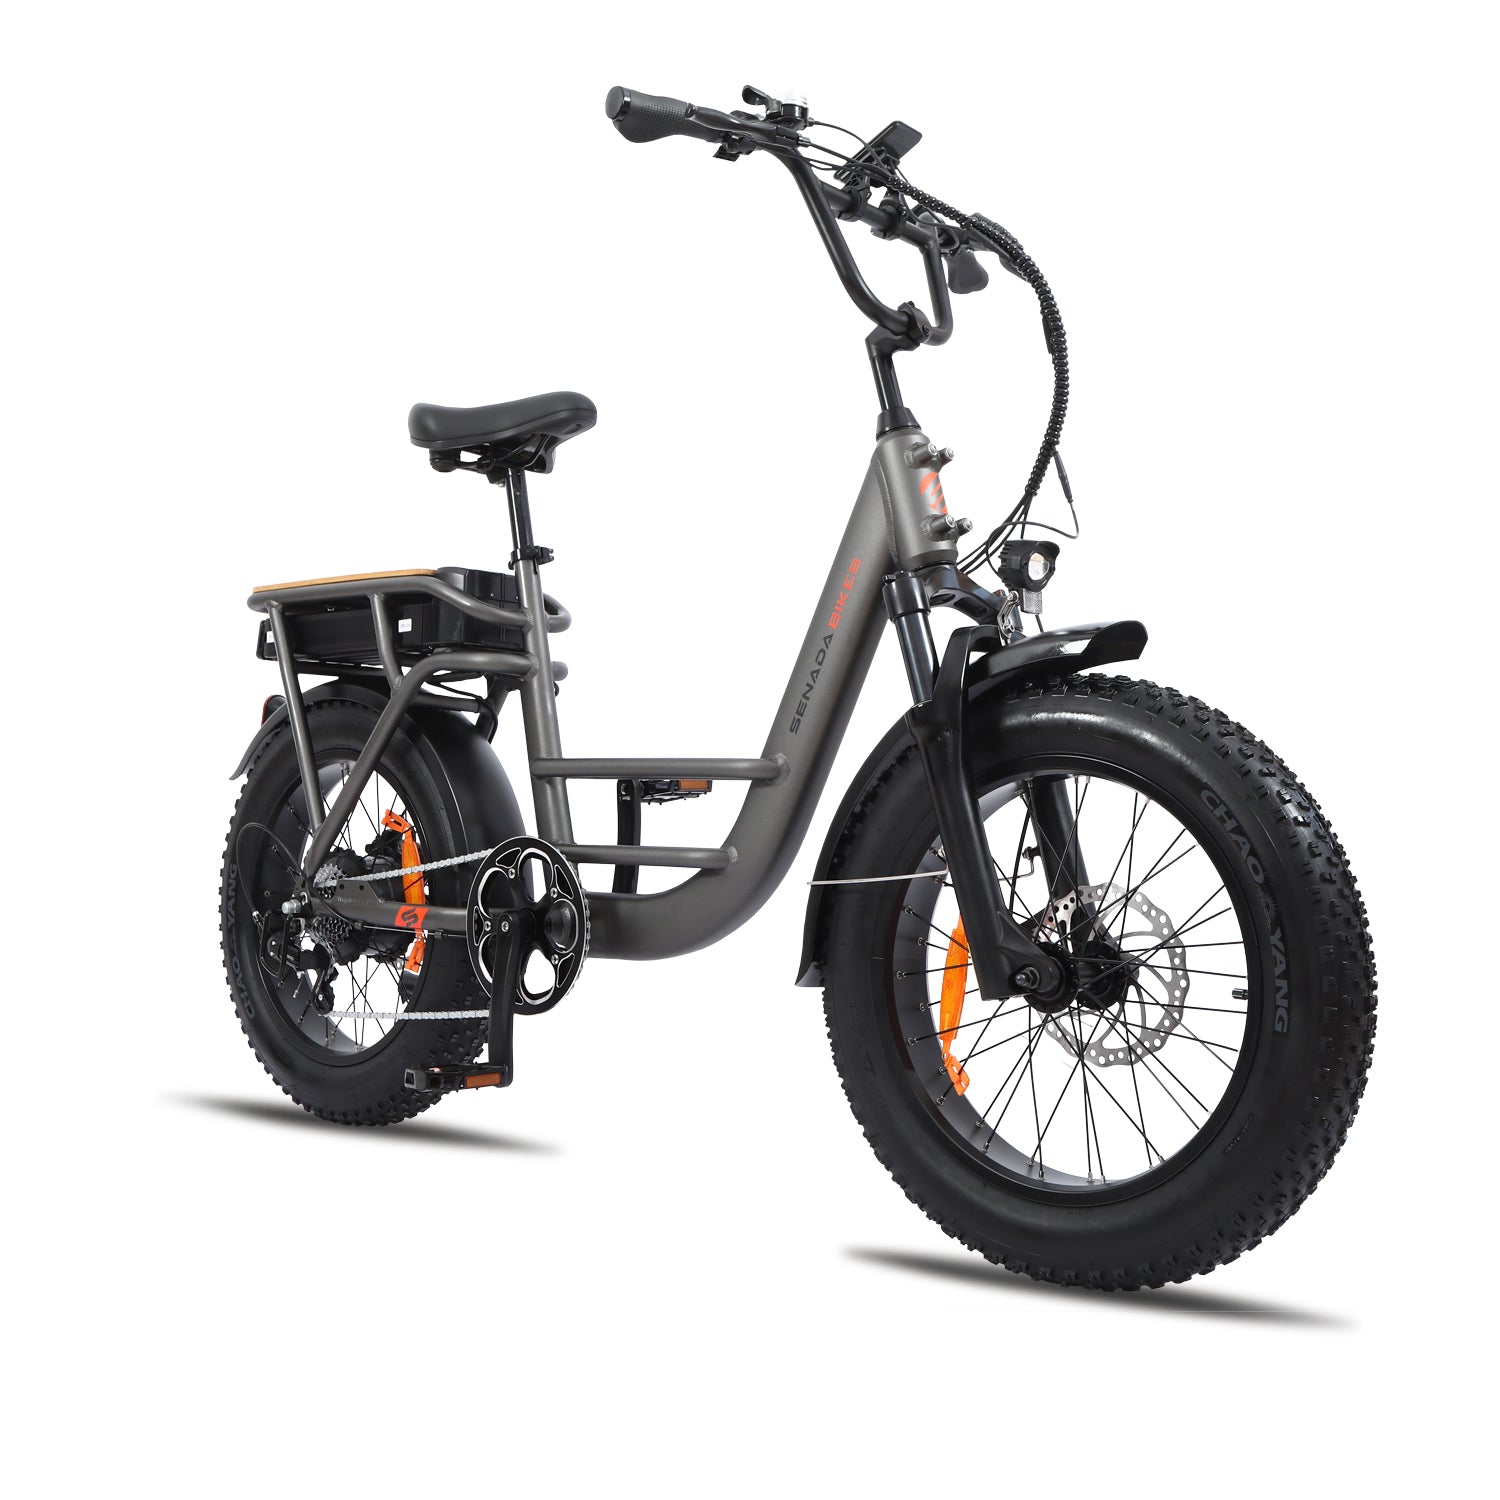
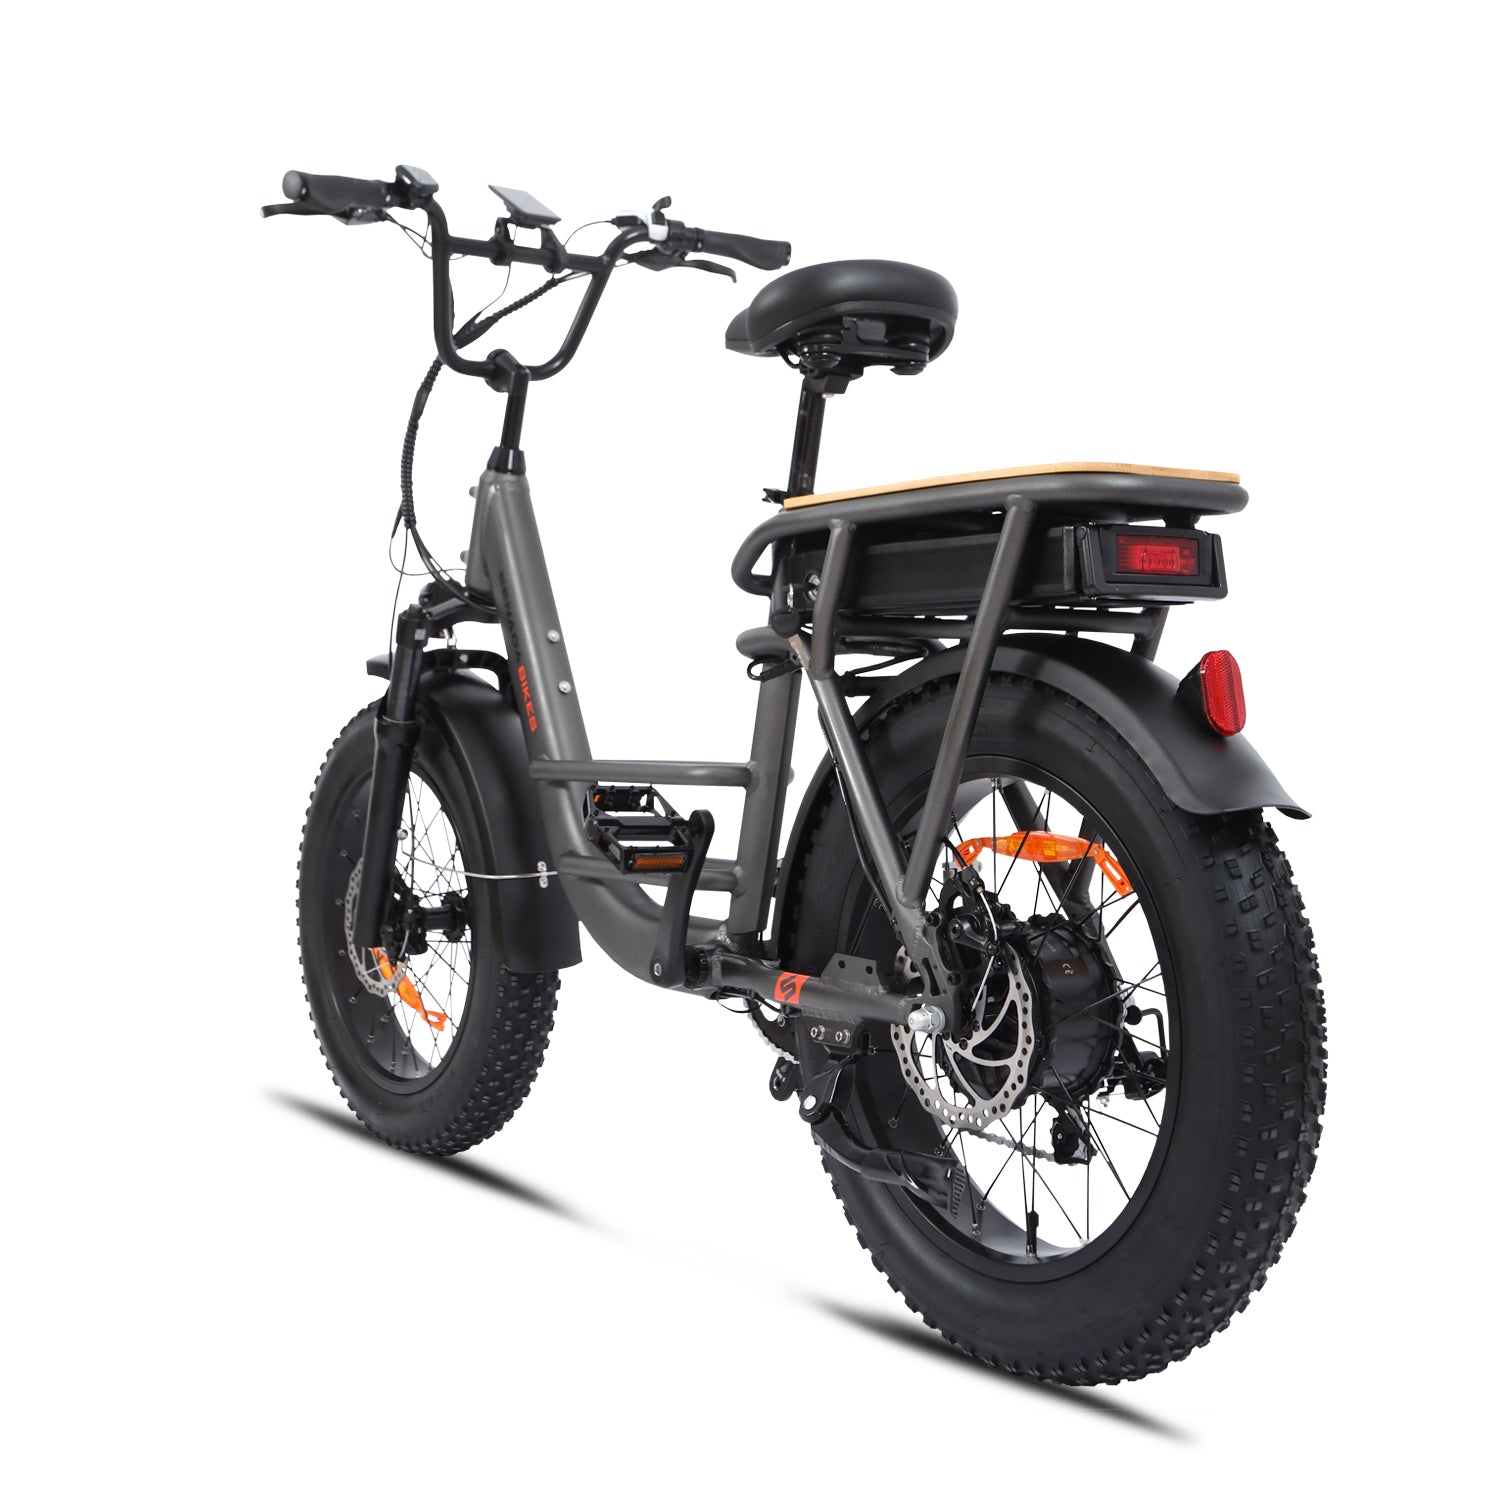
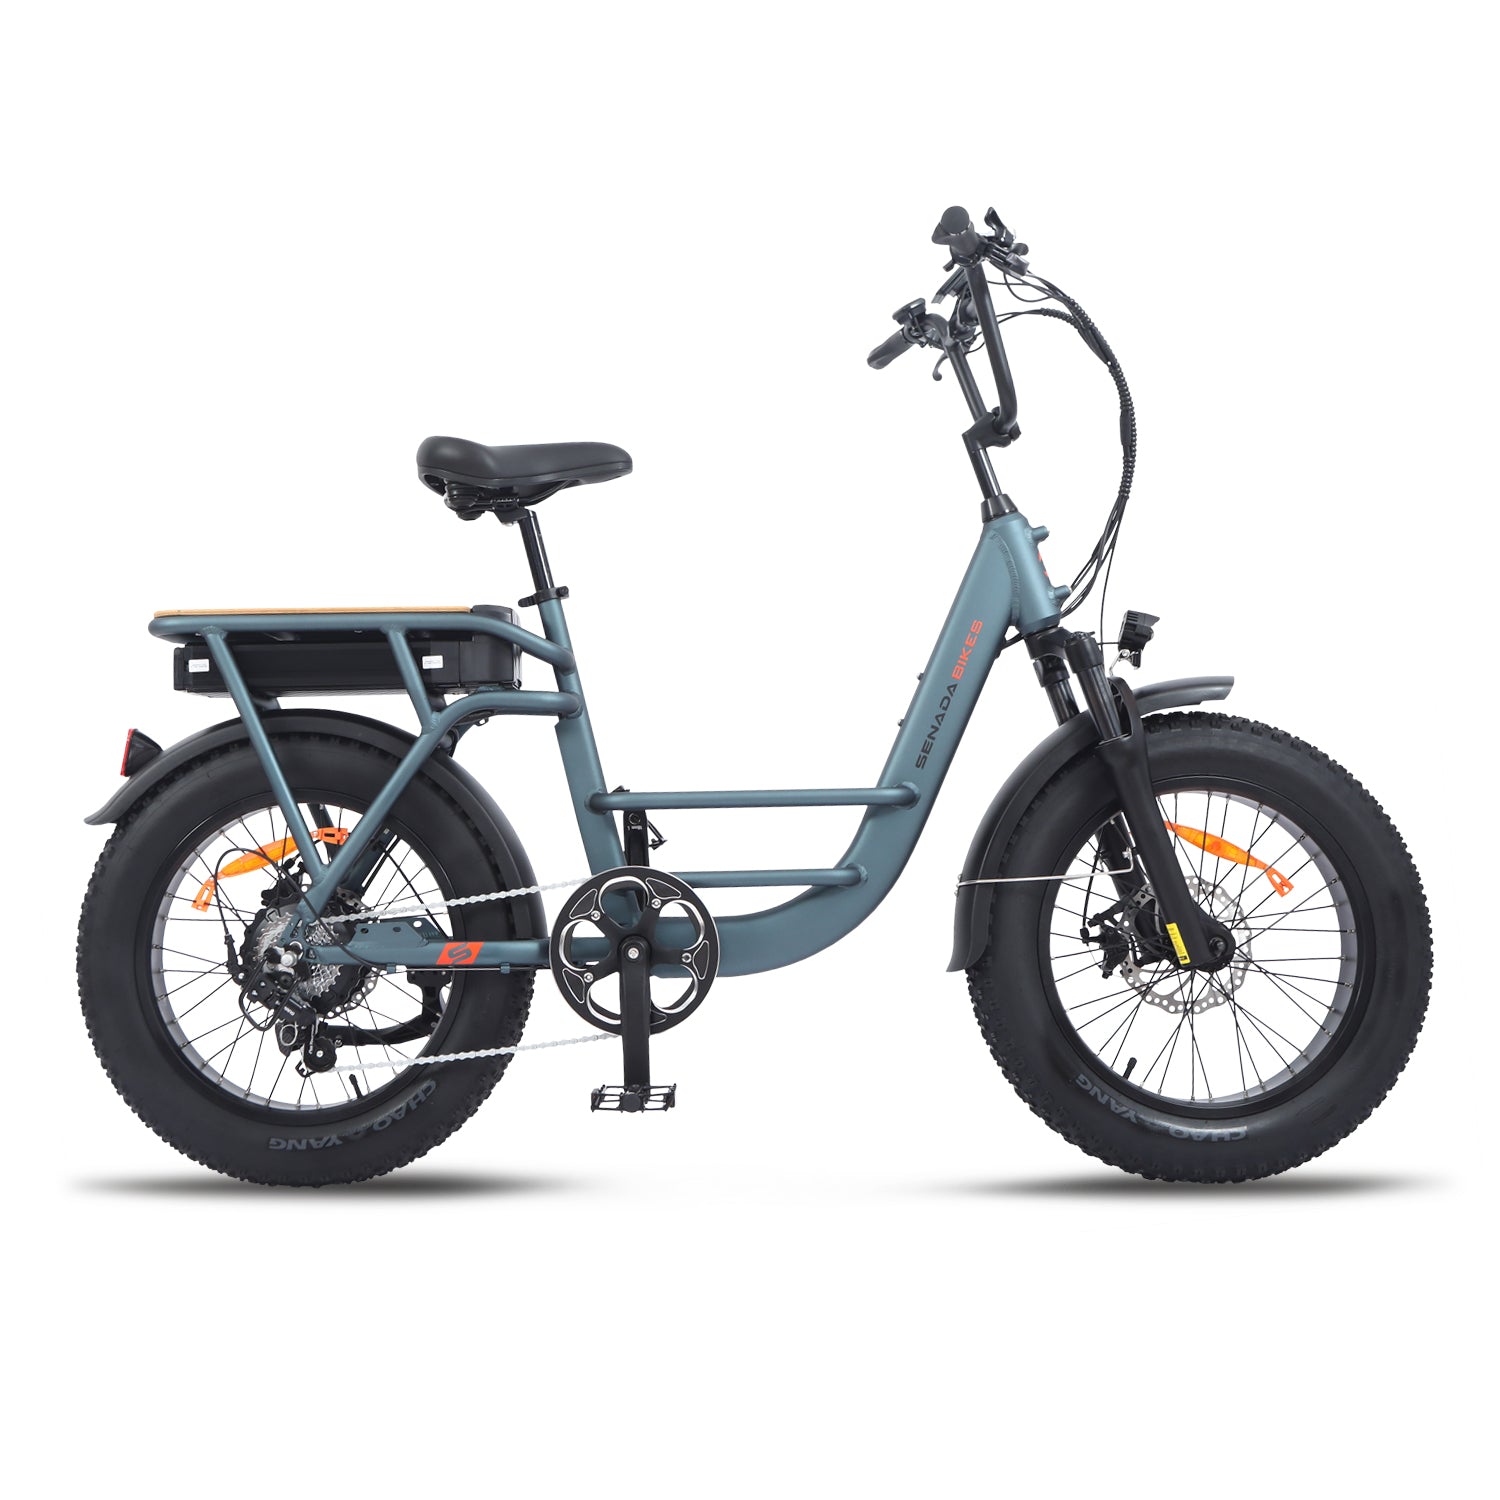
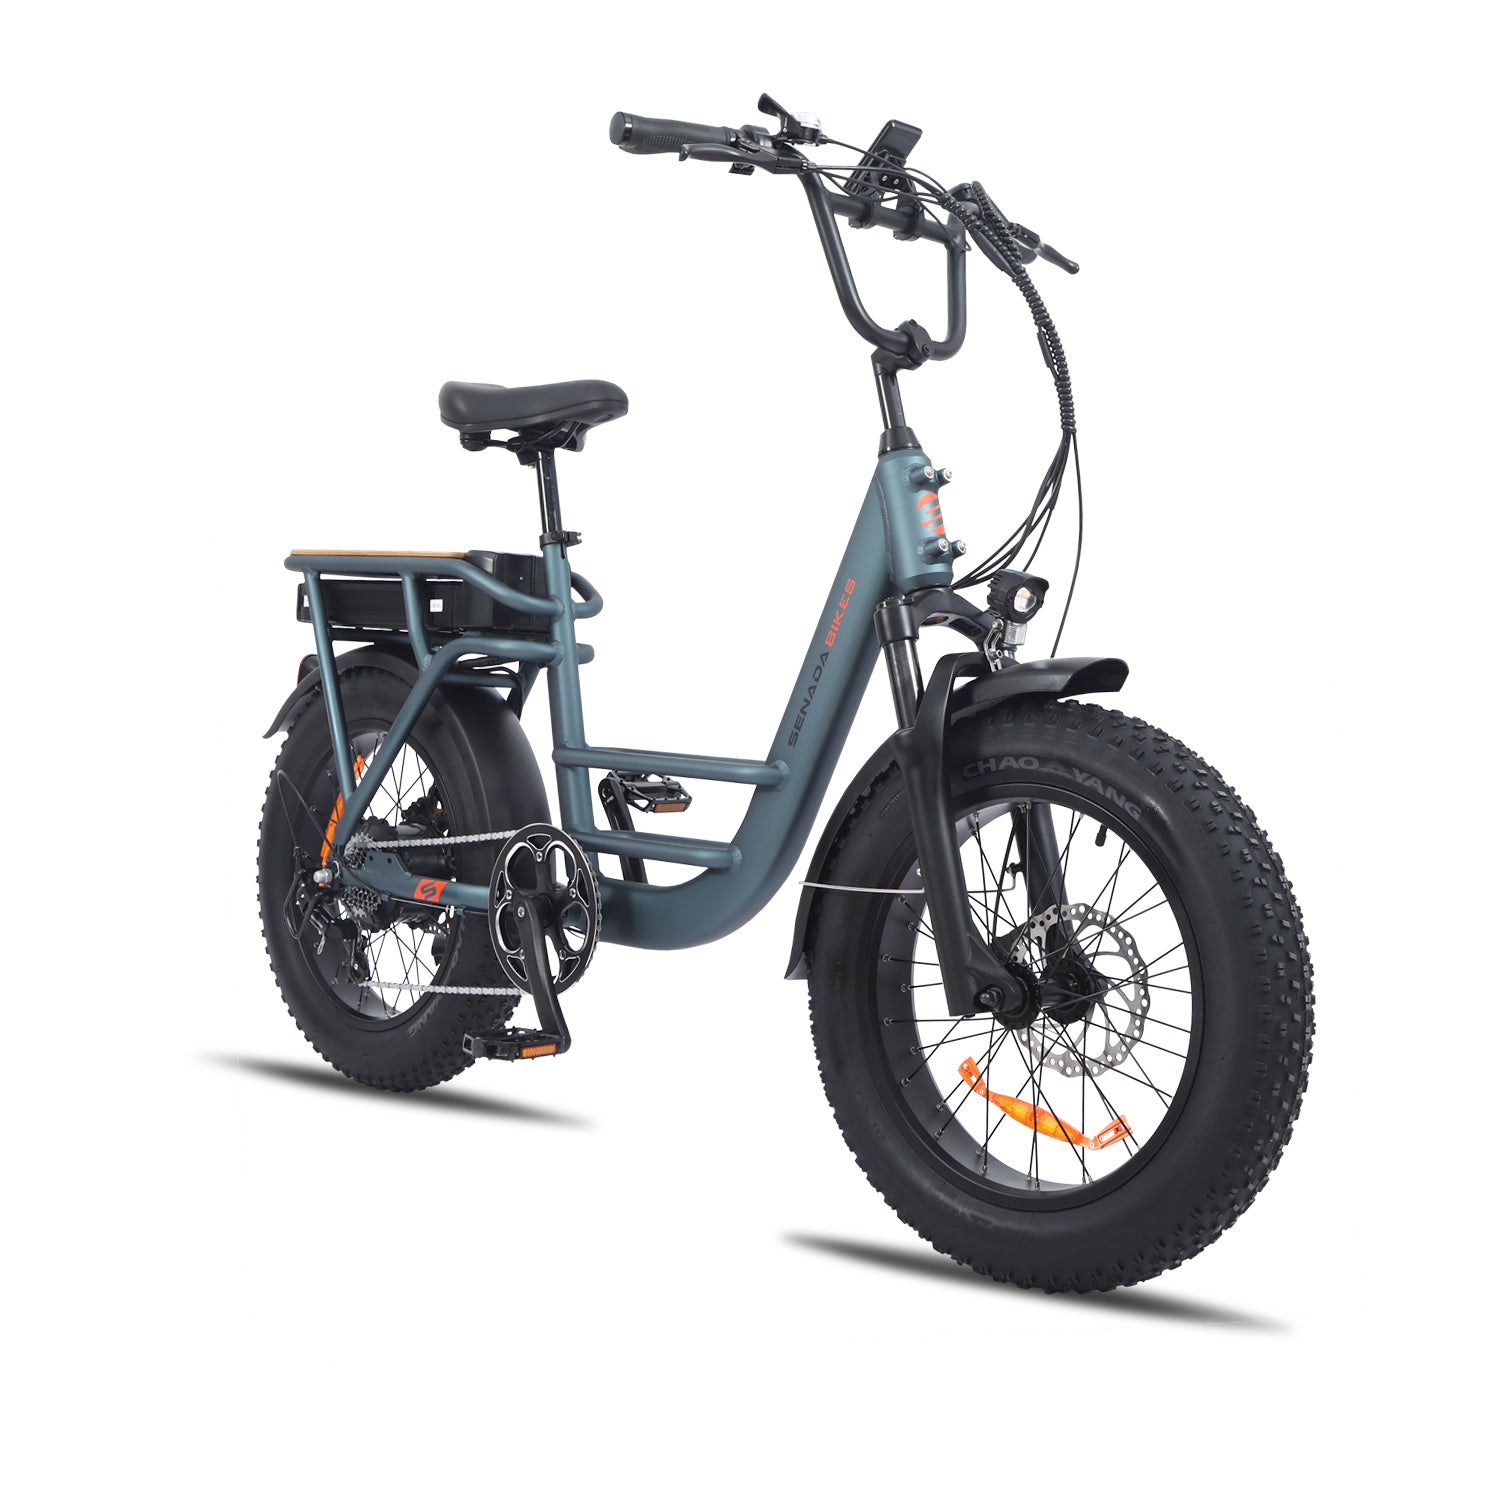
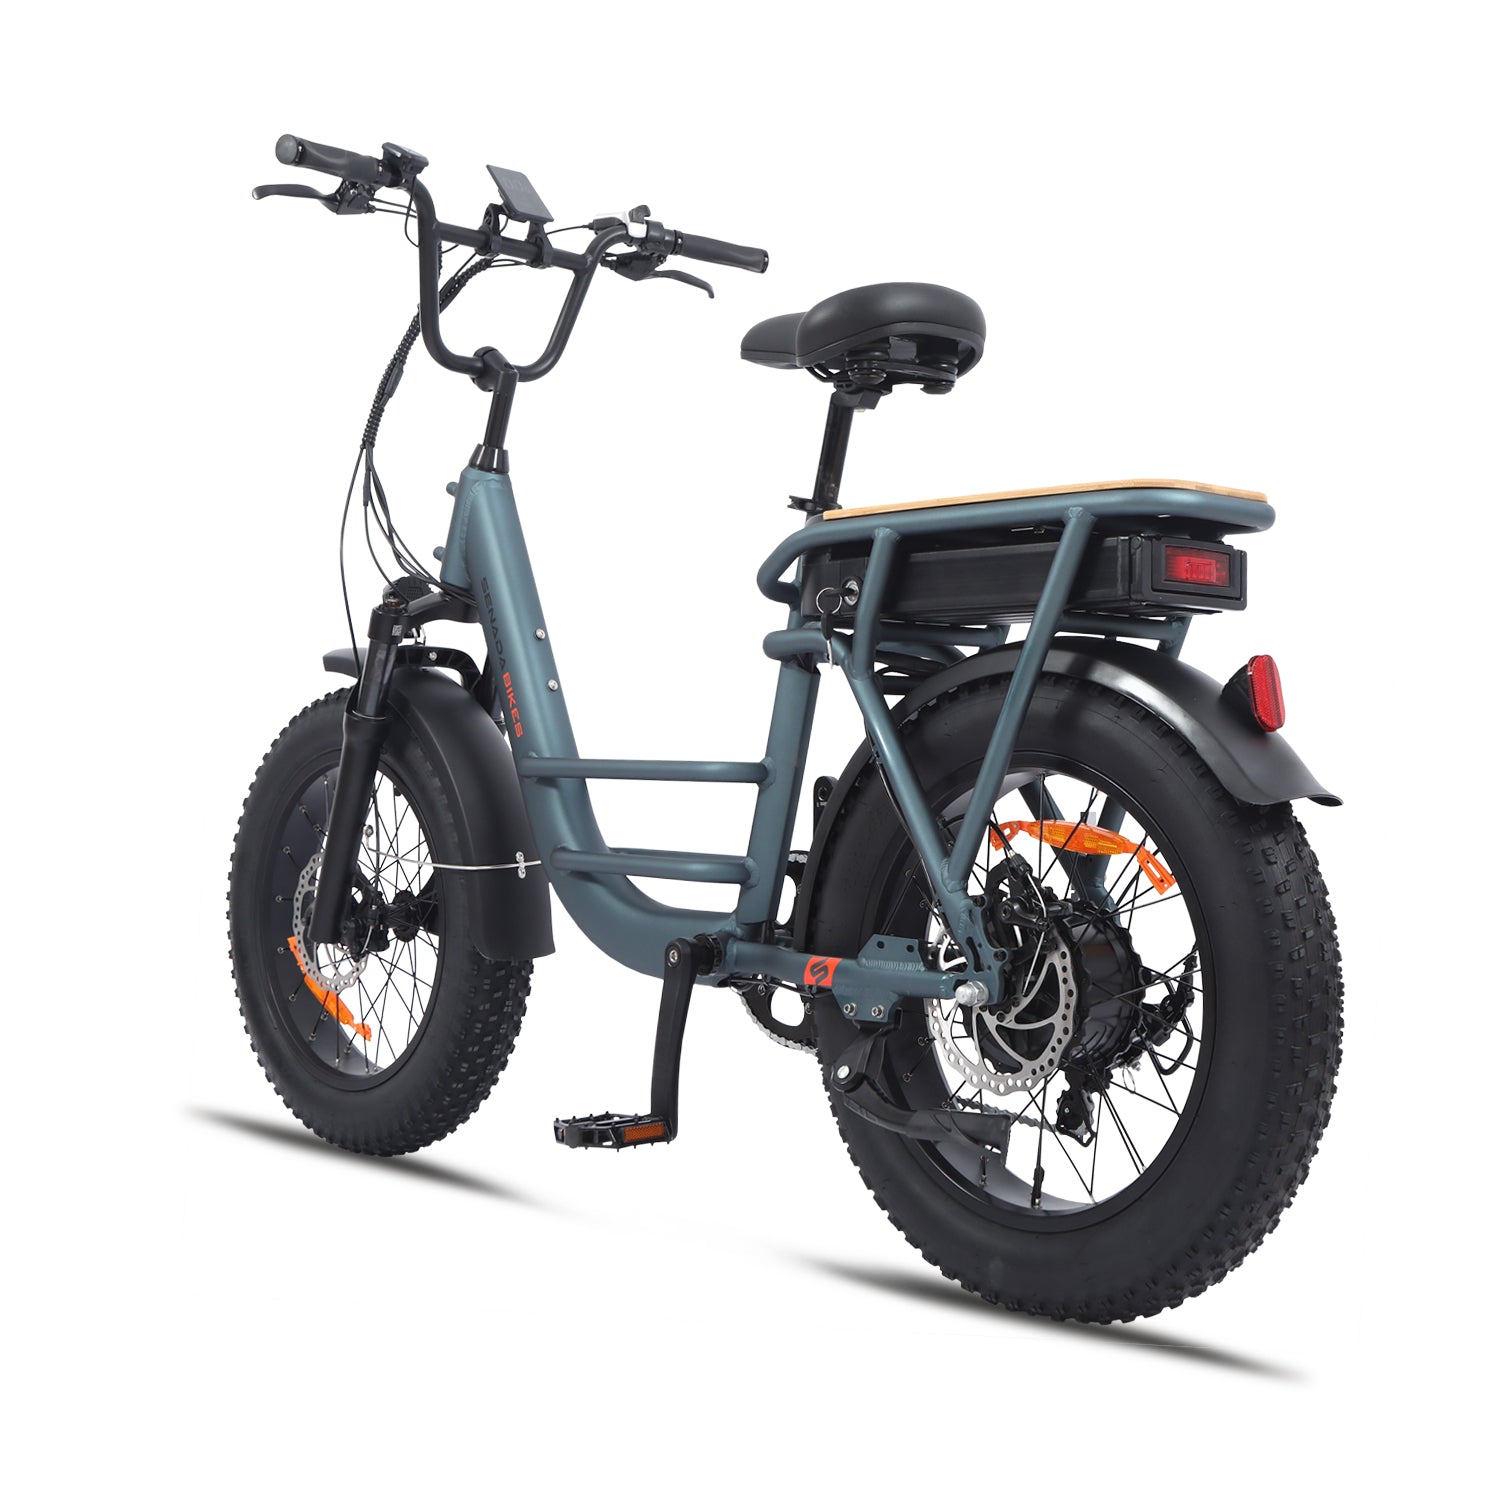
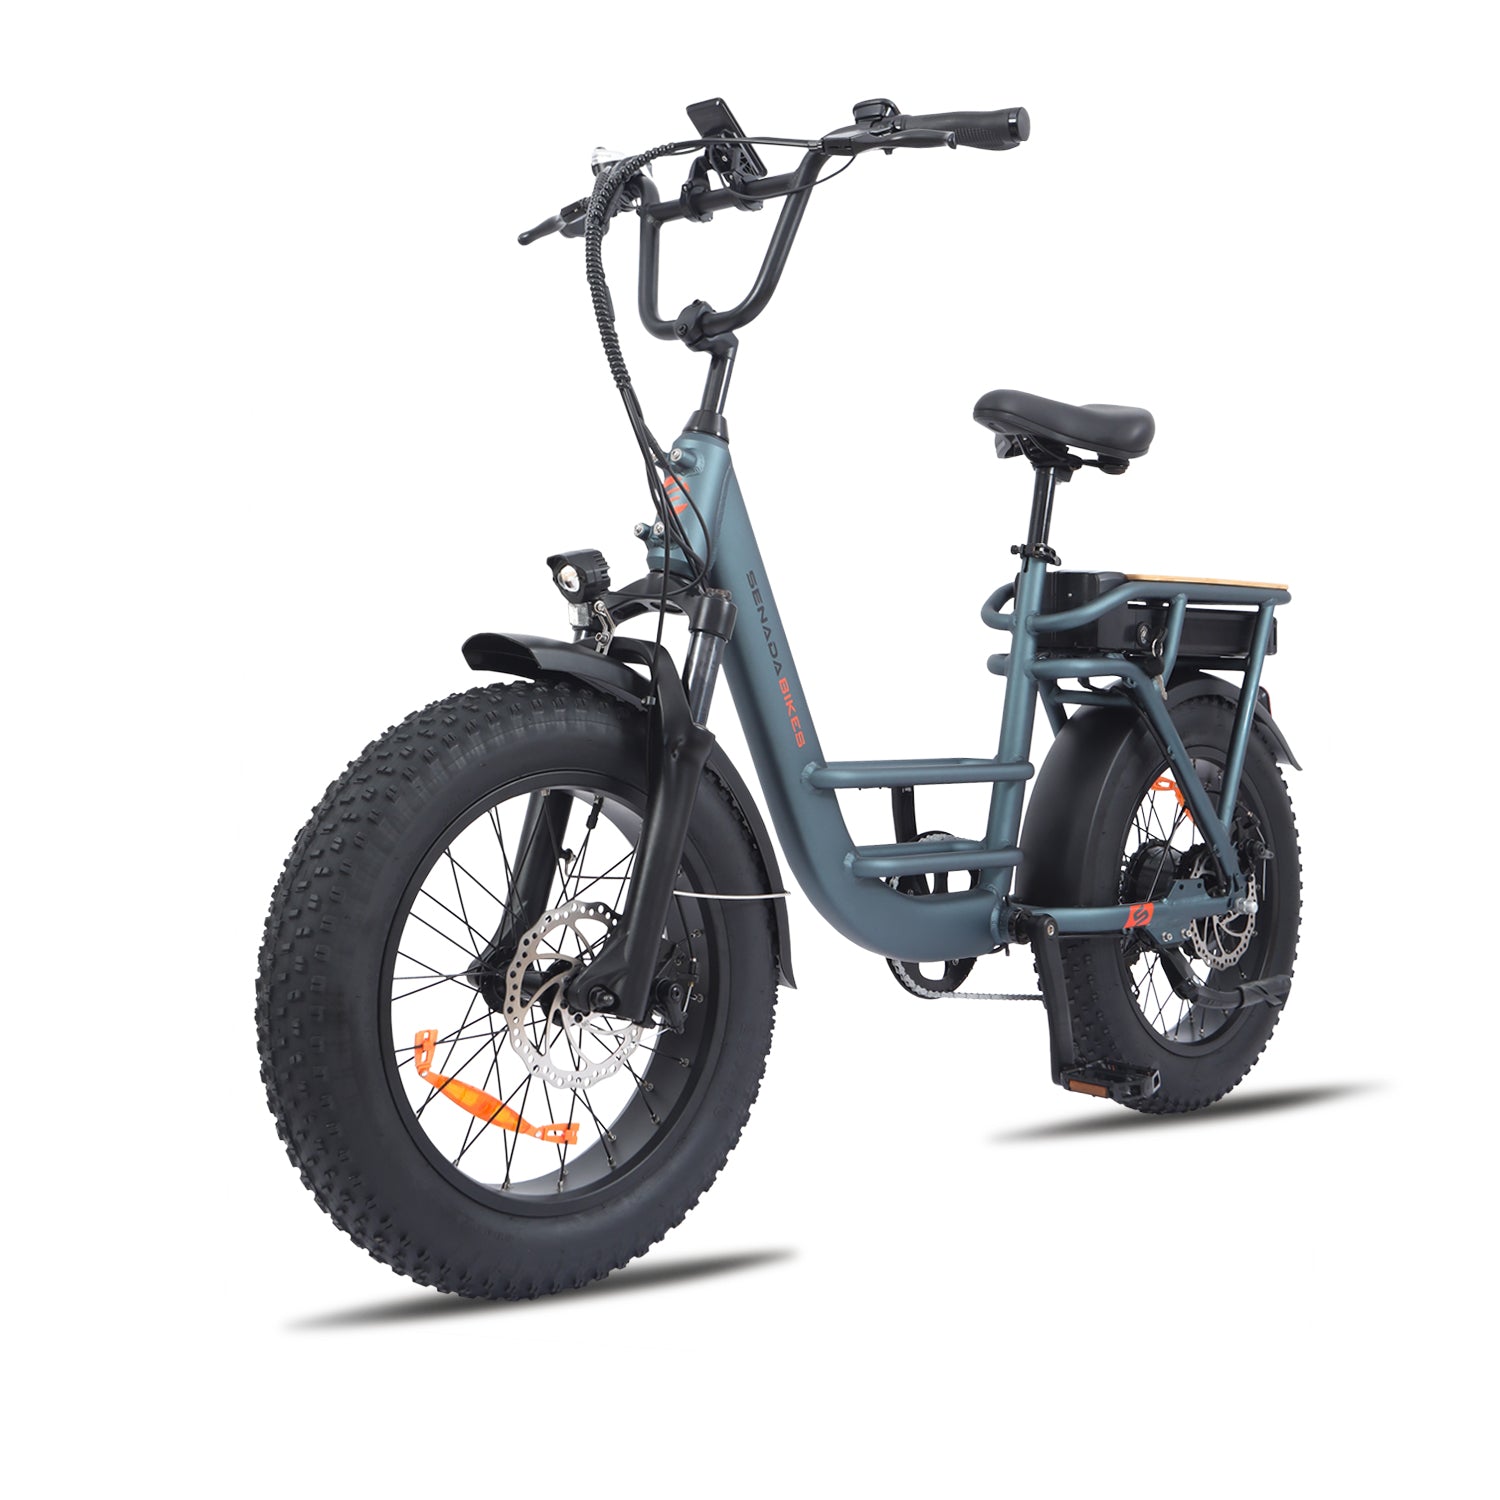
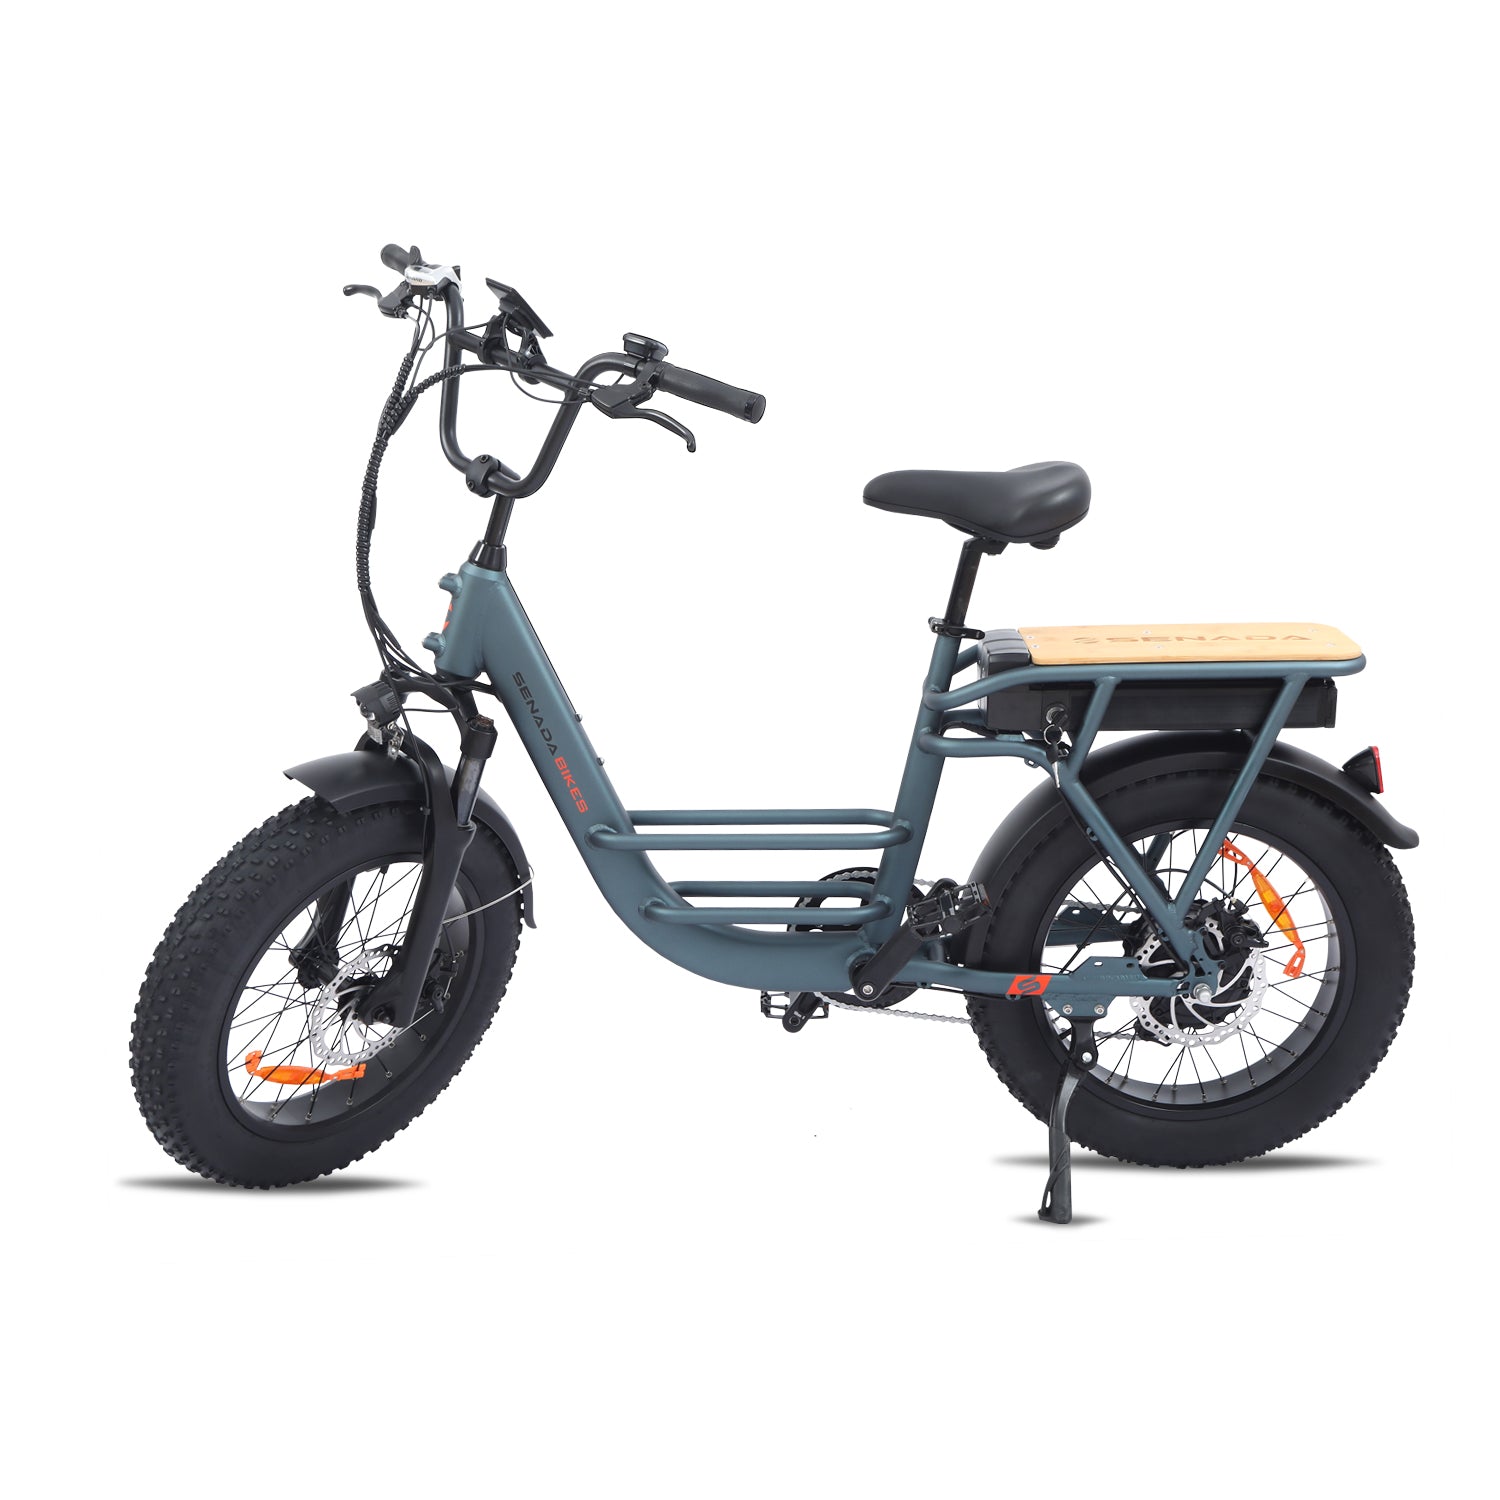
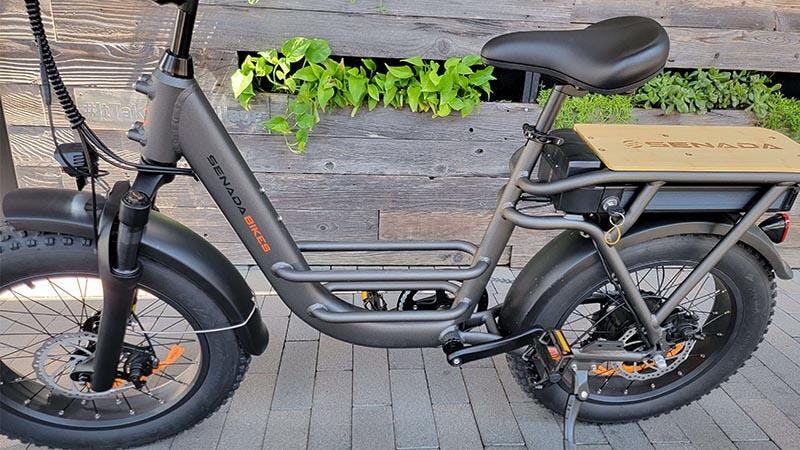
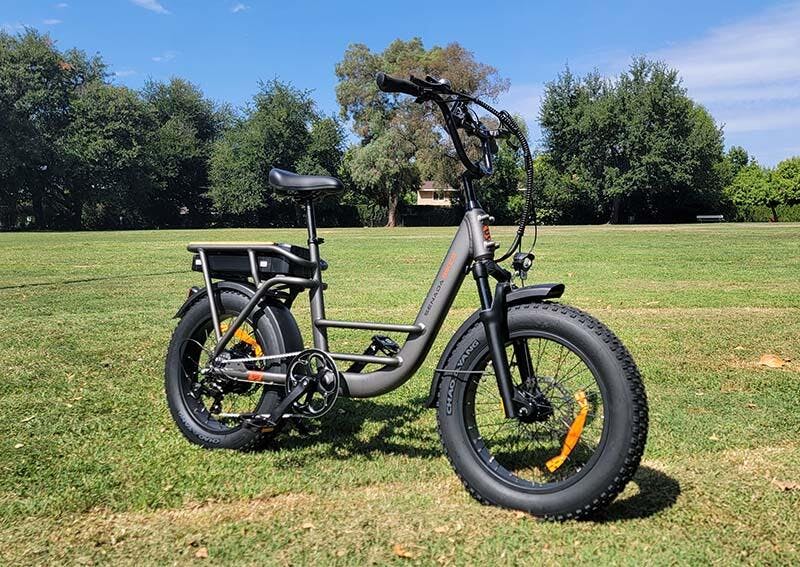
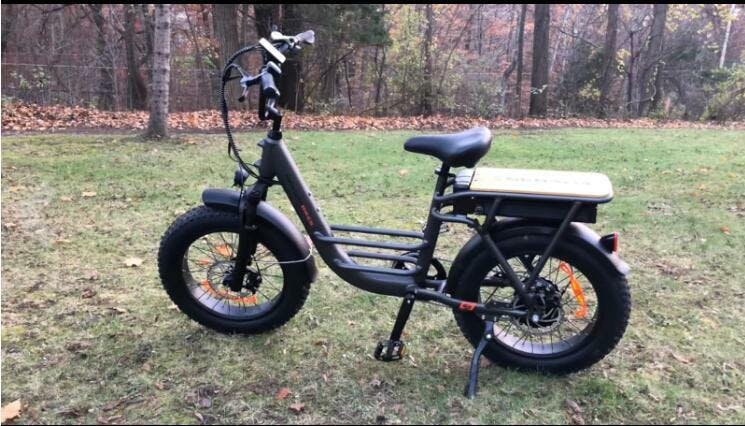
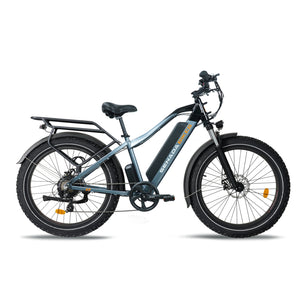
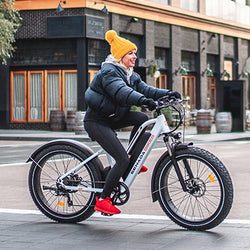
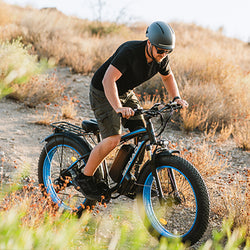
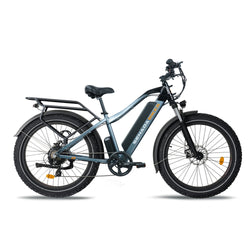
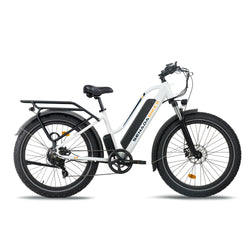
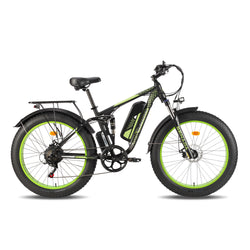
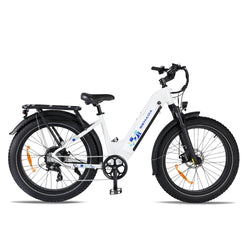
SENADA OSPREY
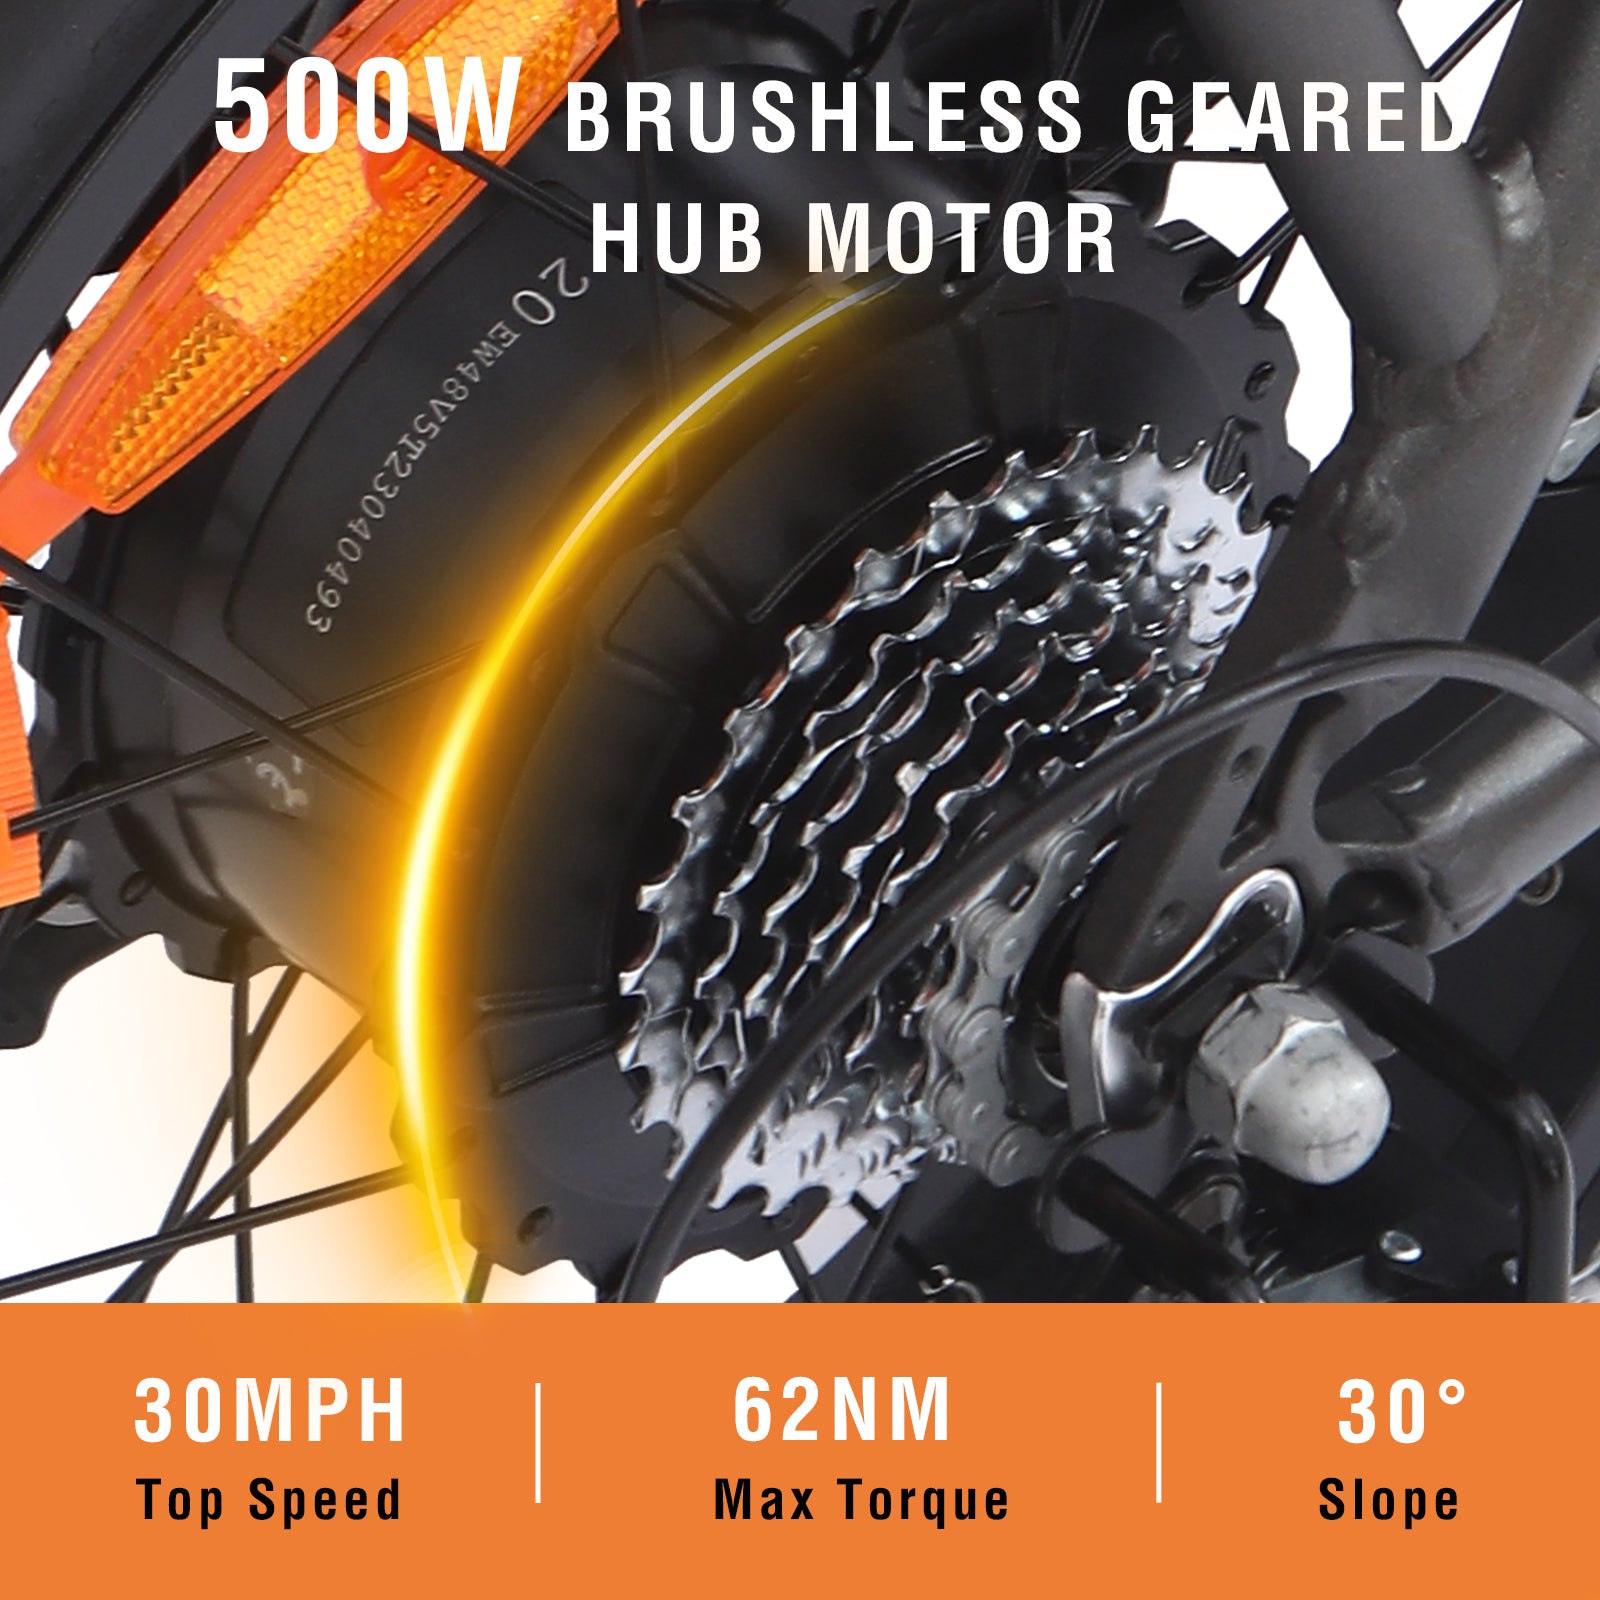
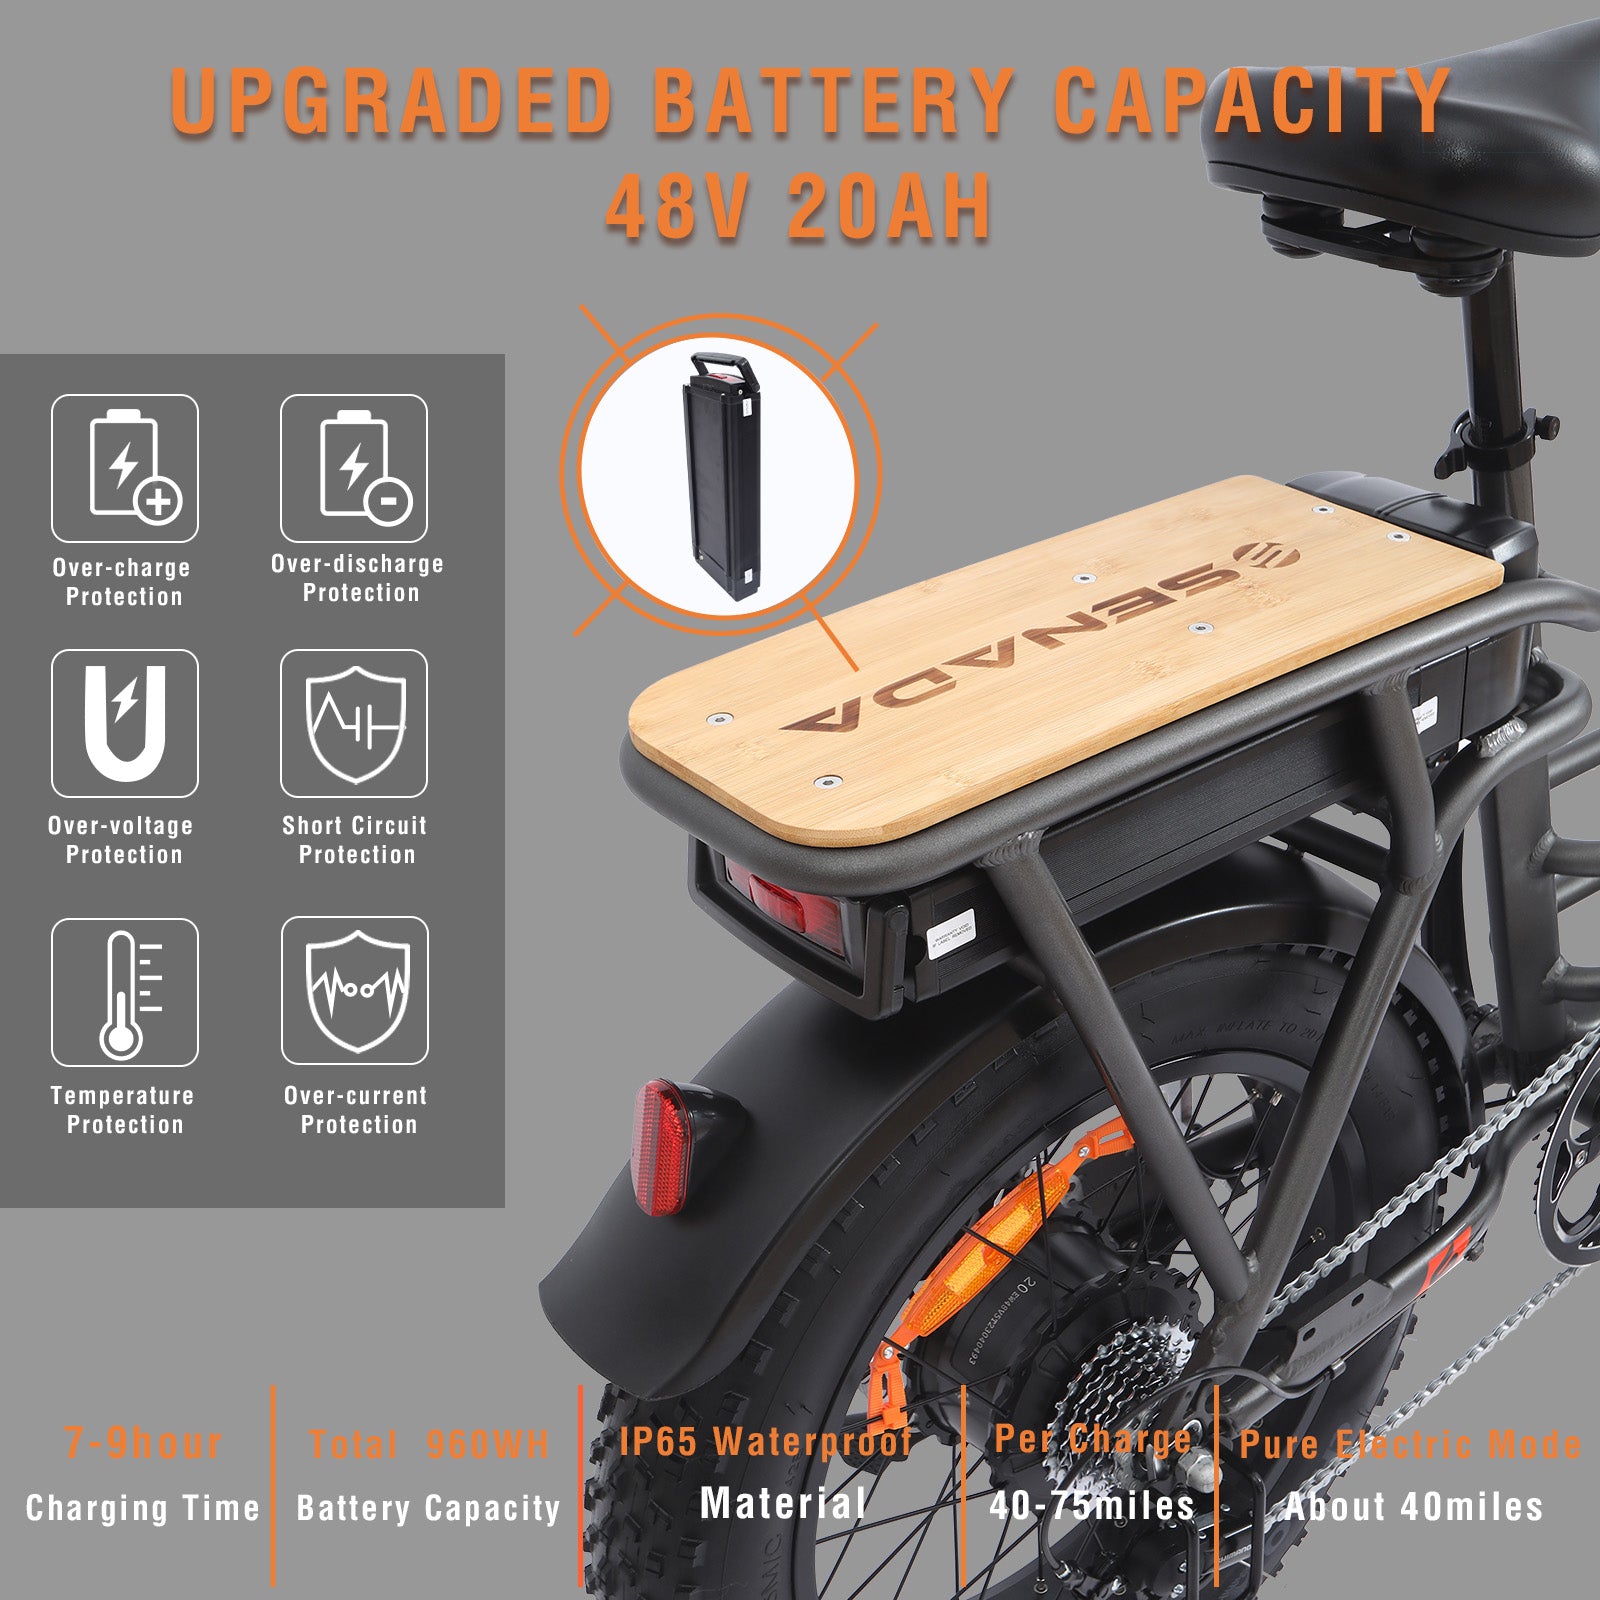
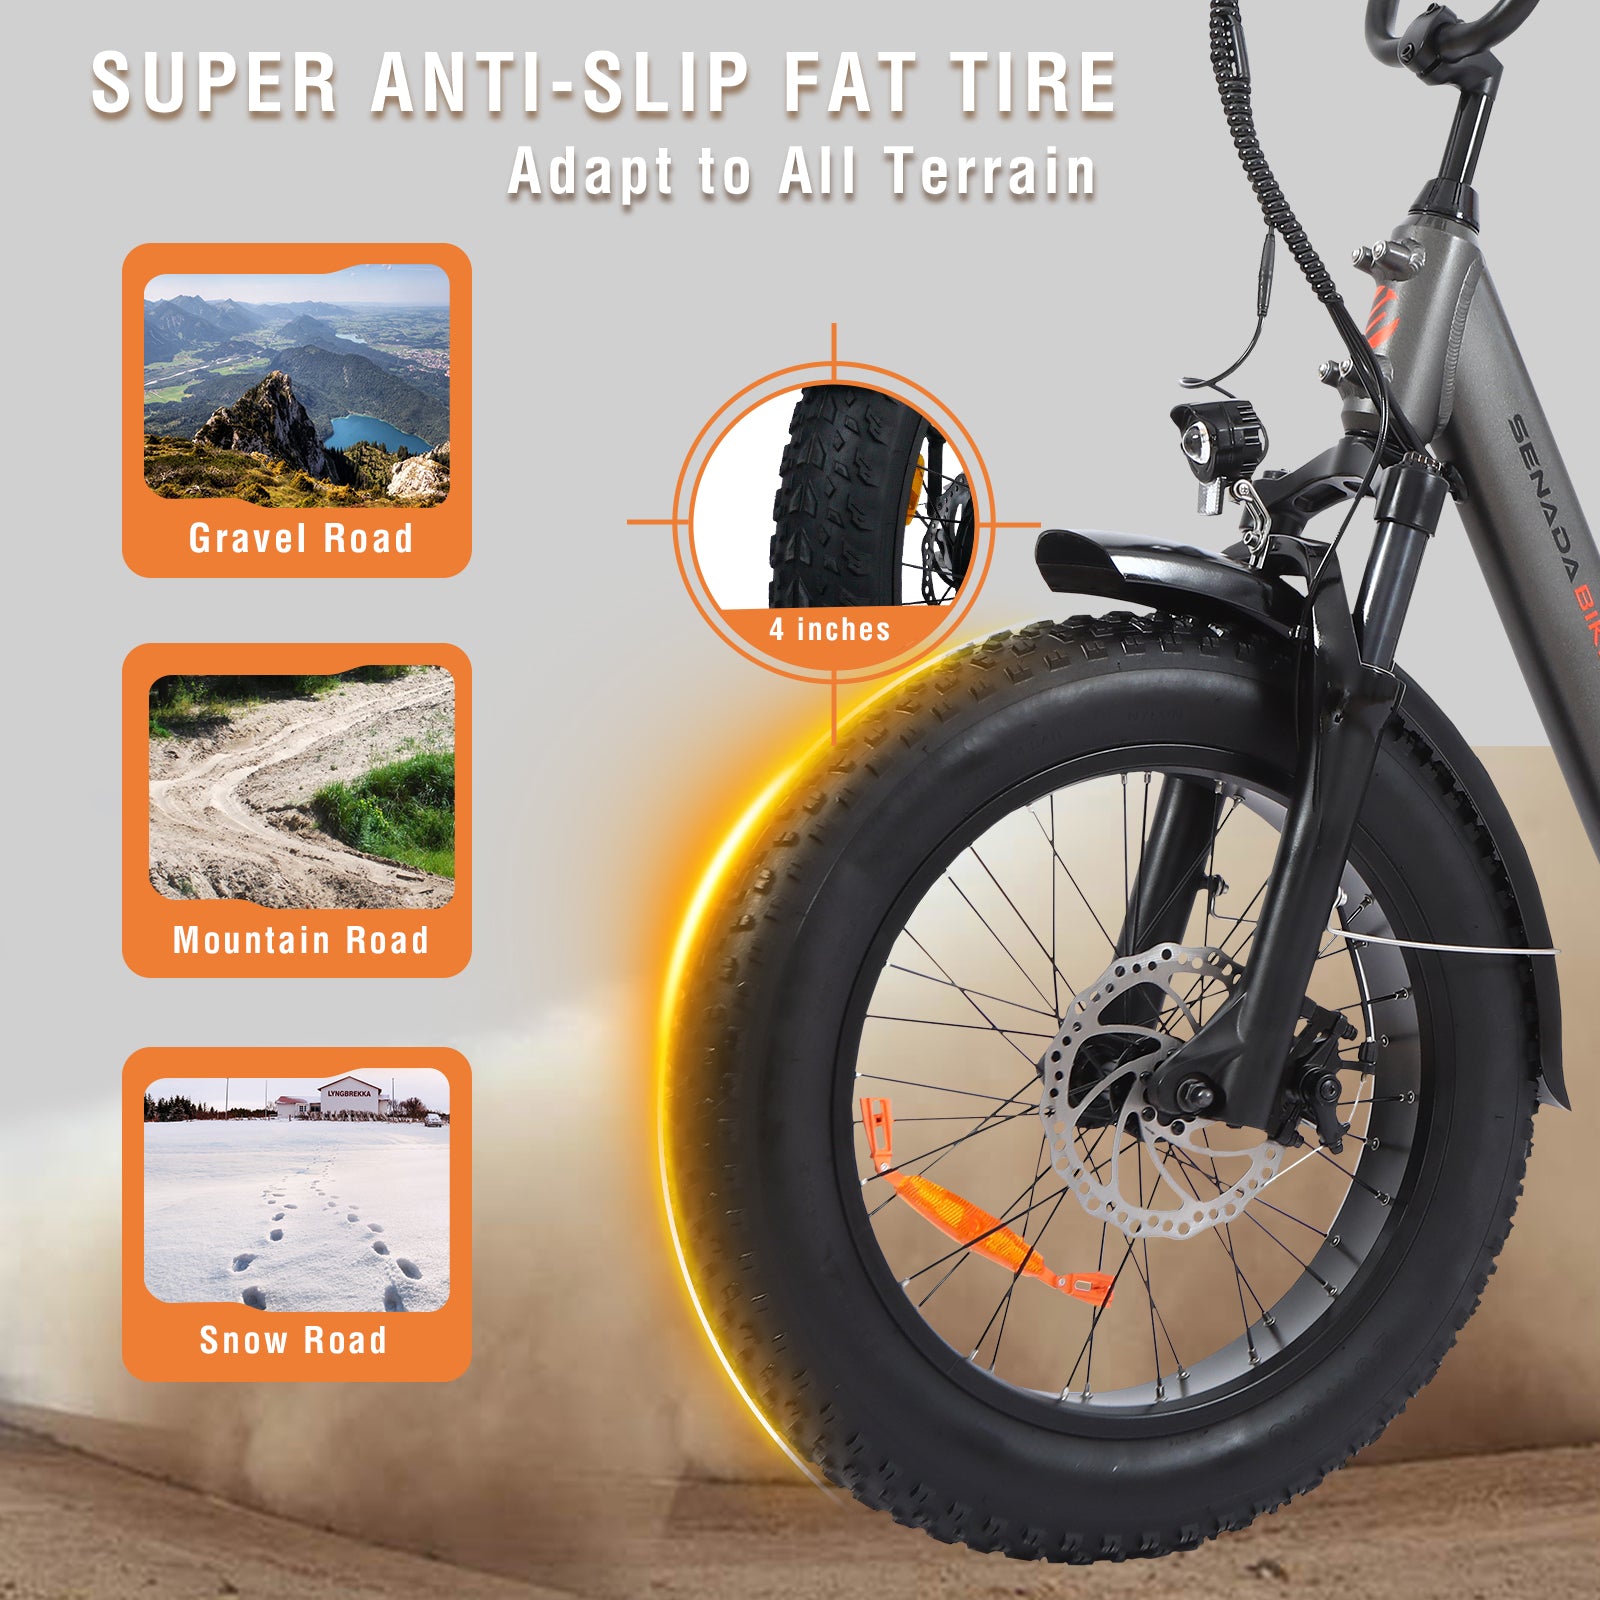
Comfortable Accessibly Designed 500W (700 watt peak) 20Ah Max Range 75Miles Long Range All-terrain Torque Sensor Ebike UL and GCC Certified
Regular price
$999.00
Sale price
$1,459.00
(
You Saved
$460.00!
)
MOTHER'S DAY SALE (Ends on May 19th)
get it >
Our Eco-Friendly Plan : Every ebike order plants a tree
No Tax & Free Shipping
Extra $200 OFF any 2 bikes
Code: MOM200